Low level garden walls are great for creating all sorts of garden features such as raised beds, enclosing a patio or even as part of a BBQ build.
Building a garden wall, as long as it is low level and is not required to be retaining, should be achievable for the average DIYer. Anything bigger than 900mm or for a retaining wall higher than 600mm really requires professional advice. This still leaves lots of scope for improving your outside area with a garden wall.
Even if you don’t have any bricks at present, (and we know its hard to get them at the moment) preparing for your job is key to success. While you have time, thoroughly research what needs to be done. Why not check out our video? Time spent in preparation of the ground and checking levels will never be wasted, when it comes to being satisfied with the finished wall. If you are a novice its even worth building a practise wall; most bricklayers have years of experience so don’t expect to get it perfect first time!
The video will guide you through building any small garden wall.
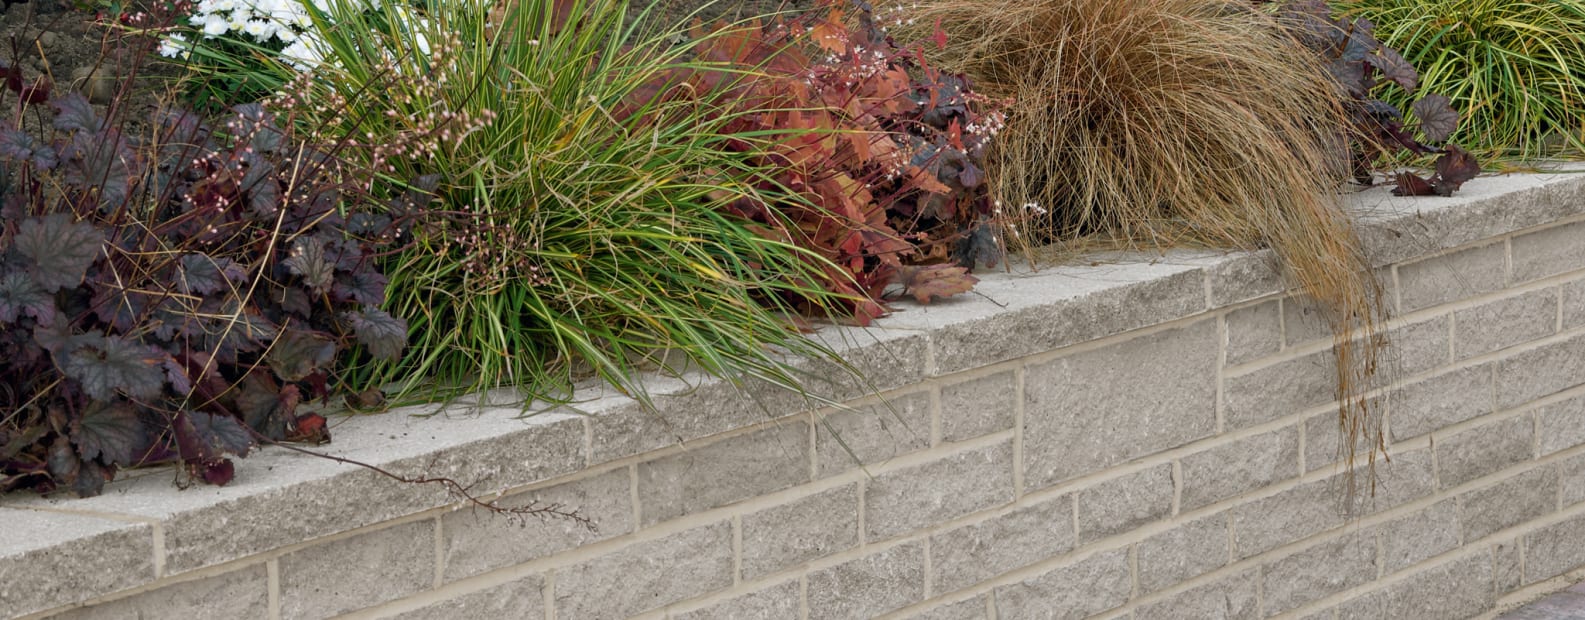
Think about how you want the wall to look and choose your bricks accordingly. You can use engineering bricks, facing bricks (most common) or even concrete blocks.
Engineering bricks are specifically made to improve the technical and structural performance of a wall but are not used for their appearance. Facing bricks are used for their appearance coming in a wide range of colours and textures, providing the perfect choice whether you are looking for a classic or contemporary finish.
Project Guide
Tools needed
- Brick trowel
- Old board
- Tape measure
- Spirit level
- Brick/string line
- Shovel
- Club hammer
- Bolster
- Stiff brush
Follow these easy 5 steps
- Dig the foundations. Your first and most important task is to lay the wall’s foundation. Mark out the line and position of the wall and then dig out the foundations. Dig a trench (approx. 200mm deep and 300mm wide) where the wall will be. The width of the foundation should be 250mm wider than the wall you intend to build and the wall should be built in the centre of the foundations making sure that the distances A and B are the same.
Tamp down the bottom (Jargon Buster all tamp down means is to pat, press, or pack some loose substance down.) The blocks will be laid in the centre of this area. To get a nice neat trench, use wooden pegs and string to mark out the trench and to check your levels. If you have one it’s a good idea to use a sprit level to ensure the tops of the pegs are level.
- Prepare the foundations. Infill the trench with a 100mm layer of compacted hardcore (Jargon Buster -Hardcore is a mass of solid, not easily degraded materials of low absorbency that are used to create a base for heavy load-bearing stone and concrete floors). Fill in the rest of the space with concrete. For foundations, a mix of 1 part cement to 3 parts sand to 6 parts aggregates can be used. Don’t make too much cement in 1 go otherwise you will find it drying out before you need it. Don’t forget to wear protective clothing including a facemask to protect yourself from any dust. Its important that the foundation trench is dug with a flat smooth bottom and the thickness of the concrete is the same throughout the length of the foundation or you can lay some concrete slabs as shown in the video.
- Build one course at a time. Stretch a building line (or length of string pulled really tight) from one end of the foundations to the other. Using a trowel, spread mortar (4 parts building sand to 1 part cement) evenly over the foundations and then over the blocks of each course. The mortar should slightly exude from between the joints (10mm) and any surplus should be removed with the trowel. Fill vertical joints as you go by applying mortar to one end of the block before positioning it adjacent to the previously laid block. Build one course of bricks at a time, checking with a spirit level vertically, horizontally and diagonally. Remove excess mortar so it does not stain the face of the block.
- Lay in a stretcher bond. The blocks should be laid in a stretcher bond using half blocks at the end of each course. Stretcher bond uses 60 bricks to the square metre in a half-brick, or single skin wall and 120 to construct a double skin, or One-brick wall. Bricks generally have an indent or frog and this should be laid upwards and filled with mortar.
- Top the wall with matching coping. Using a pointer trowel, smooth and finish the mortar joints.
Most of all take your time – the wall will be there for along time if its done well so take care if you are new to brick laying and you will have a garden wall to be proud of.